Creating a thriving garden doesn’t require expensive fertilizers or complicated equipment. With a few natural materials, a little bit of planning, and some clever layering techniques, you can completely transform tired or poor-quality soil into a living, nutrient-rich, microbe-filled garden bed — ready to support strong, healthy plants season after season.
Whether you’re prepping for the next planting season or starting fresh, the following methods combine ancient wisdom and modern know-how to rejuvenate your soil, conserve moisture, and reduce future maintenance. This guide outlines how to build living soil using organic layers, biochar, cover crops, and compost, all while recycling natural materials from your kitchen and garden.
Step 1: Begin with a Cover Crop for Natural Enrichment
Cover crops are the unsung heroes of soil building. They improve soil structure, fix nitrogen naturally, and suppress weeds. One of the easiest and most effective cover crops to use is mustard.
- Why mustard?
It grows quickly, enriches the soil with nitrogen, loosens compacted layers with its deep roots, and protects the surface from erosion. - How to apply:
Simply scatter mustard seeds over your garden bed and allow them to grow until they fill the area with lush greenery. When the season ends, instead of pulling or cutting them, level the plants into the soil, gently pressing them down so they begin to break down in place. This method retains the roots, which continue to support the soil structure by creating air and water pathways.
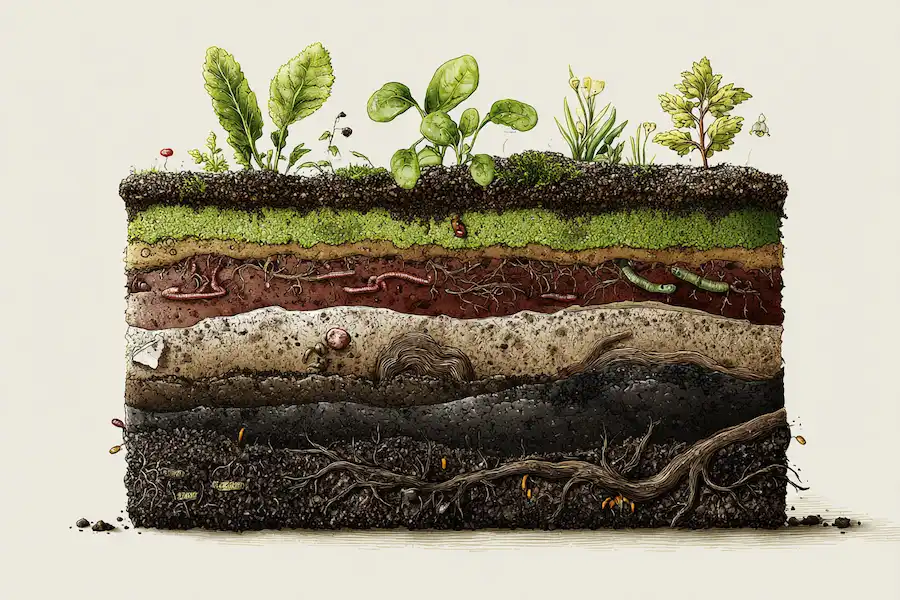
Step 2: Build the Soil with Organic Layers
To supercharge your soil even further, use a layered approach that mimics natural forest ecosystems. Here’s how to do it step-by-step:
A. Add a Layer of Chopped Green Material
- Use old cover crops, carrot tops, or other green clippings.
- Tear or chop them into small pieces to speed up decomposition.
- Spread them evenly across the garden bed.
This layer supplies nitrogen and feeds beneficial microbes while attracting earthworms, which help aerate the soil and break down organic matter naturally.
B. Return the Topsoil
- If you’ve removed a layer of topsoil to make room, now is the time to put it back over the green material.
- This helps trap moisture and heat, accelerating the composting process.
C. Sprinkle Neem Cake
- Neem cake, made from the residue of pressed neem seeds, is a powerful natural fertilizer and pest repellent.
- It’s rich in nitrogen, phosphorus, and potassium, while also protecting your soil from harmful fungi and nematodes.
Use a light, even layer to avoid overloading the bed but still benefit from its soil-enhancing properties.
D. Add Vermicompost (Worm Castings)
- Spread 1–2 inches of vermicompost, a nutrient-rich material made by earthworms.
- It improves soil structure, adds beneficial microbes, and boosts nutrient retention.
Step 3: Enhance the Microbial Life with Biochar
Biochar is a game-changing soil amendment. It creates a stable environment for microbes and supports long-term soil health.
How to make it:
- Crush natural charcoal (without chemicals) into small pieces.
- Place it in a bucket and soak it in non-chlorinated water (rainwater is ideal).
- Add chopped fruit peels and a handful of garden soil or compost to introduce beneficial microbes.
- Stir the mix, loosely cover it, and let it ferment for about one week.
This microbial “brew” infuses the biochar with life. Once ready:
- Mix the solid biochar into your garden soil.
- Dilute the liquid (1 part to 10 parts water) and use it as a fertilizer spray or watering solution.
Step 4: Apply Compost and Manure
Now that your garden bed is layered with green material, neem cake, and vermicompost — and charged with biochar — it’s time to add a thick layer of compost or decomposed manure.
- Compost provides slow-release nutrients, especially nitrogen, phosphorus, and potassium.
- It boosts soil microbial life, improving nutrient availability.
- It enhances water retention and reduces the need for frequent watering.
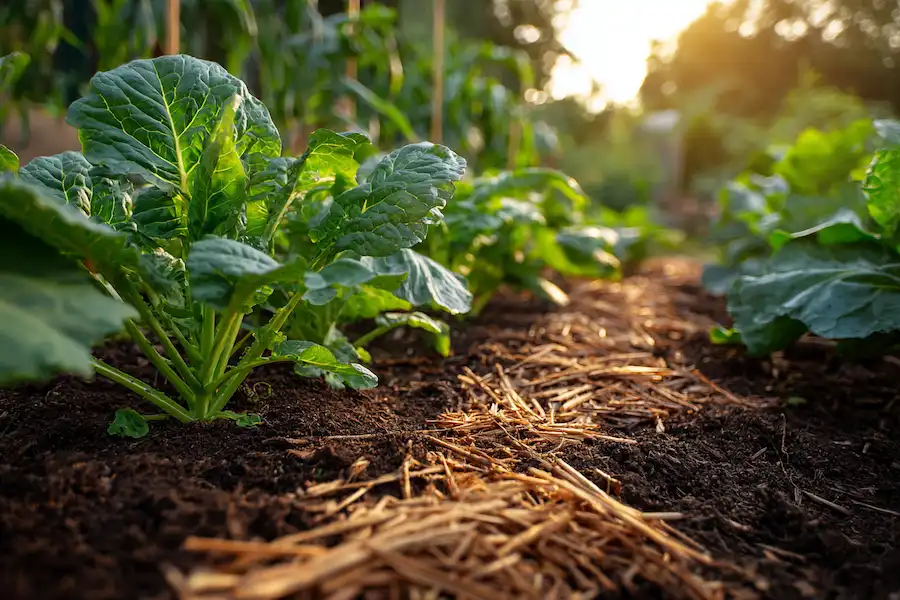
Step 5: Seal with Mulch
Finish by covering everything with a generous layer of mulch:
- Use dry leaves, sawdust, grass clippings, or wood chips.
- This keeps moisture in, regulates temperature, and suppresses weeds.
- It also slowly breaks down, adding organic matter over time.
Optional Addition: Hügelkultur Layering
If you’re building a raised garden bed, consider using Hügelkultur techniques. This involves layering branches and twigs at the base, followed by green matter, soil, neem cake, and compost. As the wood decomposes, it acts like a sponge, storing moisture and slowly releasing nutrients.
Let the bed rest for 3–4 weeks before planting. This gives microbes time to populate, materials to break down, and nutrients to settle.
A Living Bed for Seasons to Come
By following these simple, low-cost, and natural methods, you’re not just building a garden bed — you’re building a living ecosystem. In just a few days or weeks, your soil will:
- Be rich in organic matter and beneficial microbes
- Support earthworms and root development
- Retain moisture and resist compaction
- Produce stronger, more vibrant plants naturally
No synthetic fertilizers, no chemical sprays — just natural layers of nutrition, microbial magic, and smart soil care.
Disclaimer:
Always test any new amendment or compost mixture on a small section of your garden before large-scale application, especially if using homemade inputs. Some materials may vary in strength and microbial activity depending on preparation.
Inspired by this? Share the article with your friends!